

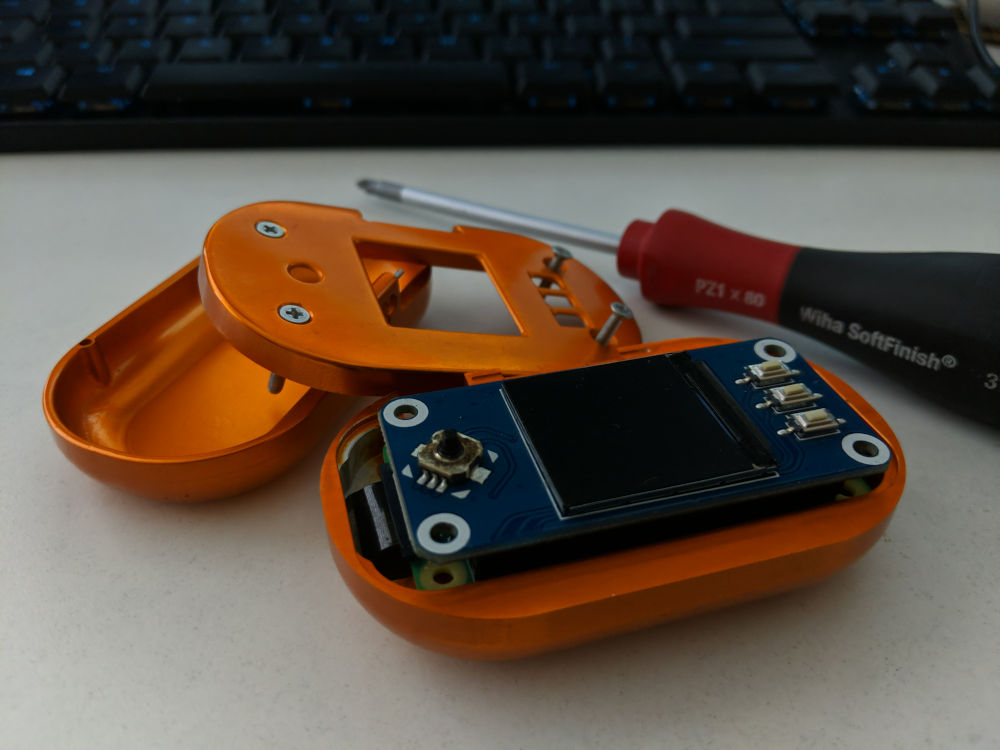
To assemble the Seedsigner into a BTCCNC case, the Raspberry Pi header needs to be correctly fitted. Here’s how to do it…
By far the easiest way to make this work is when soldering the header pins into the Raspberry Pi Zero. Simply turn the standard header upside down when inserting it into the PCB so that the long pins are through the holes to be soldered and the short pins will plug into the LCD Hat.
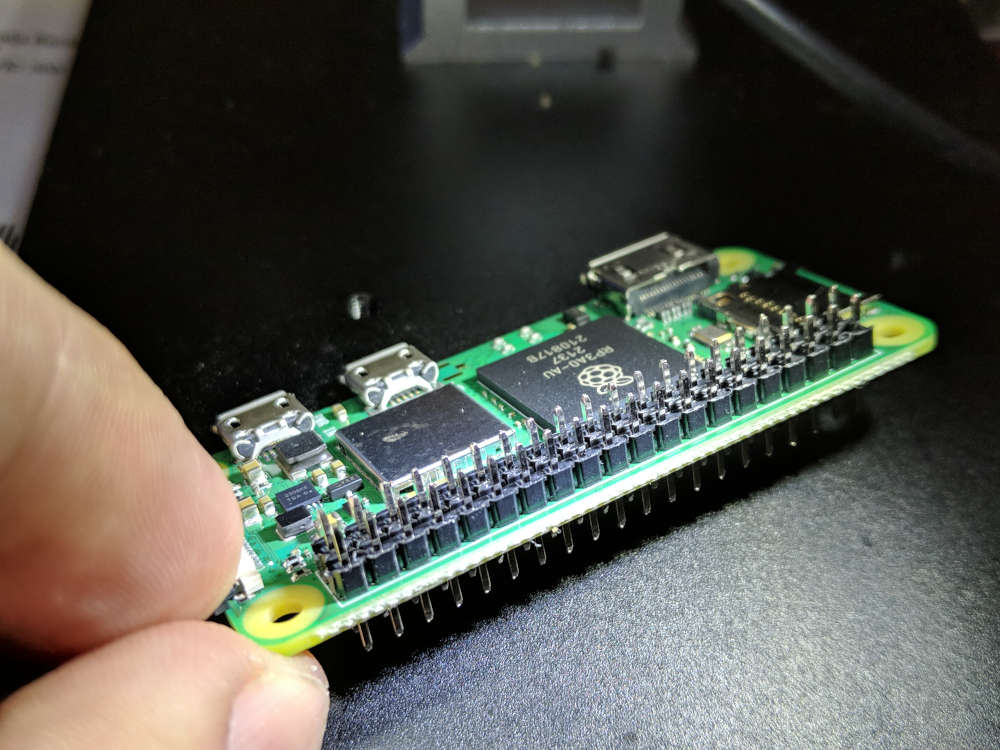
After they are soldered, clip the excess long pins off with side cutter pliers.
If your header pins are already fitted to the Raspberry Pi, you can carefully shorten the pins with side cutter pliers. Fit your Hat and you will see how much you need to remove. Be careful to cut all the pins to a consistent length. Making one pin too short could mean the LCD Hat will not function correctly.
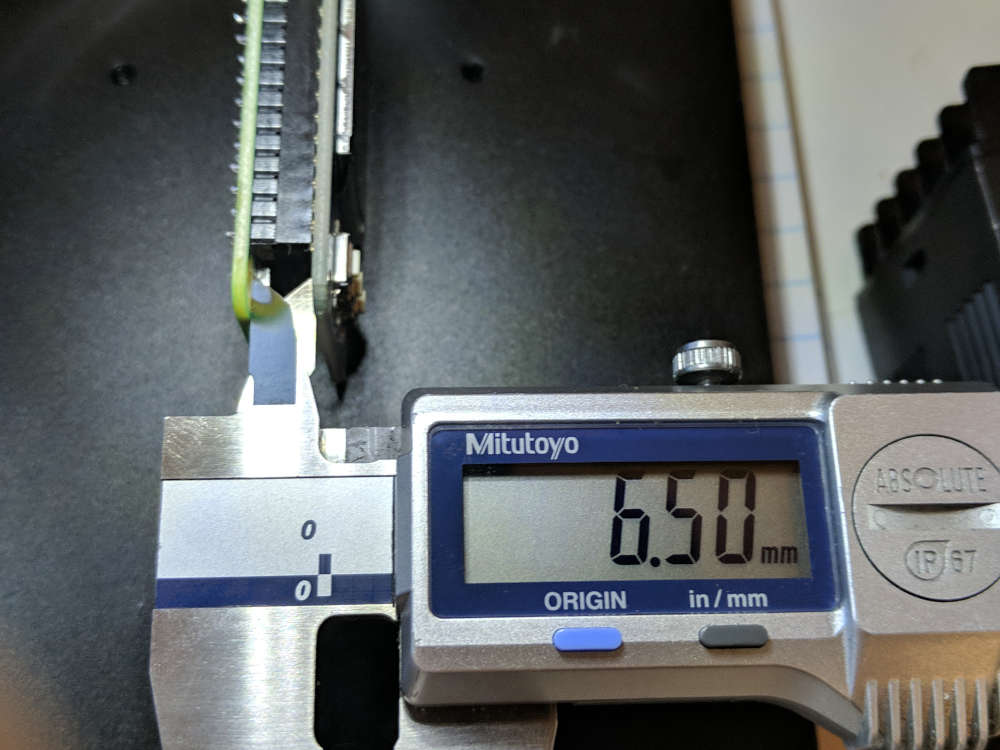
This is the correct distance between the Raspberry Pi Zero PCB and the HAT PCB. 6.5mm or about 1/4″. Note that the plastic parts of the header pins and the HAT socket touch. This should give the correct distance.